Wednesday, February 29, 2012

Kid Style

I love the days when we are not busy and I have time to just let my kids explore with art.  It was one of those days yesterday.  We pulled out all the bright colored paints, lots of paintbrushes, and I let them create their own one of a kind pieces of art.  My little one just likes to scribble around for 10 minutes and then be done.  He's just channeling Jackson Pollack I think!

My oldest took at least an hour to paint a portrait of everyone in the house.  He took time to remember everyone's favorite colors because that's what color shirt we all received.  Our hair color was matched, we all had blue jeans, and he picked out colors for our shoes.  Paying attention to detail is his strong suit!

We all had giant hands and I asked him why.  He just said it was hard to paint hands with a brush and I completely agree.  I am not a painter by any means, it is not my forte, so I am just glad he wants to explore with it!

Sunday, February 26, 2012

Treasuries on Etsy

I have just started exploring Etsy in depth and I can't believe how much fun it can be!  The other day I discovered teams and today I discovered treasuries.  Have you ever played with these wonderful things?  It gives you an excuse to browse all the lovliness that Etsians have to offer.  So, today I made my first treasure list called Black and Blue.
This is just one of the items I added to my treasury.
You can check it out if you like, just be warned it's very addictive!

Thursday, February 23, 2012

Chain Stitch Fun

This week for the TAST challenge was chain stitch.  I love the chain stitch!!  It's super easy to learn and you can do so much with it.  I thought trying a color experiment this week would be fun so I picked out 10 blues of varying shades and started playing!  This is what happened.

Lovely blues, one of my favorite colors!

This is in a 4 inch hoop.

Look at that fantastic texture, I love it!
On another fun blog world note, I joined an embroidery swap at Wild Olive and you should too!  Just go here to see her post, you have until the 29th to sign up!

Tuesday, February 21, 2012

Fabric Inspiration

I look everywhere for inspiration and sometimes I get overwhelmed with ideas.  My brain is a swirly mass of ideas and they zing here and there all at once.  Fabric makes my head spin, in a good way!

I love fabric!!  So, naturally, it is a great source of inspiration for me.  Some of my favorites right now:
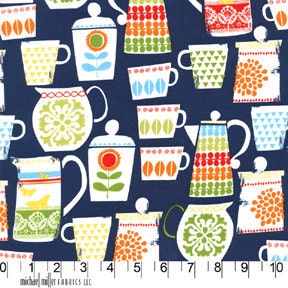
Put A Lid On It from the Retro Kitchen Series by Michael Miller
Seriously, how cute are these!
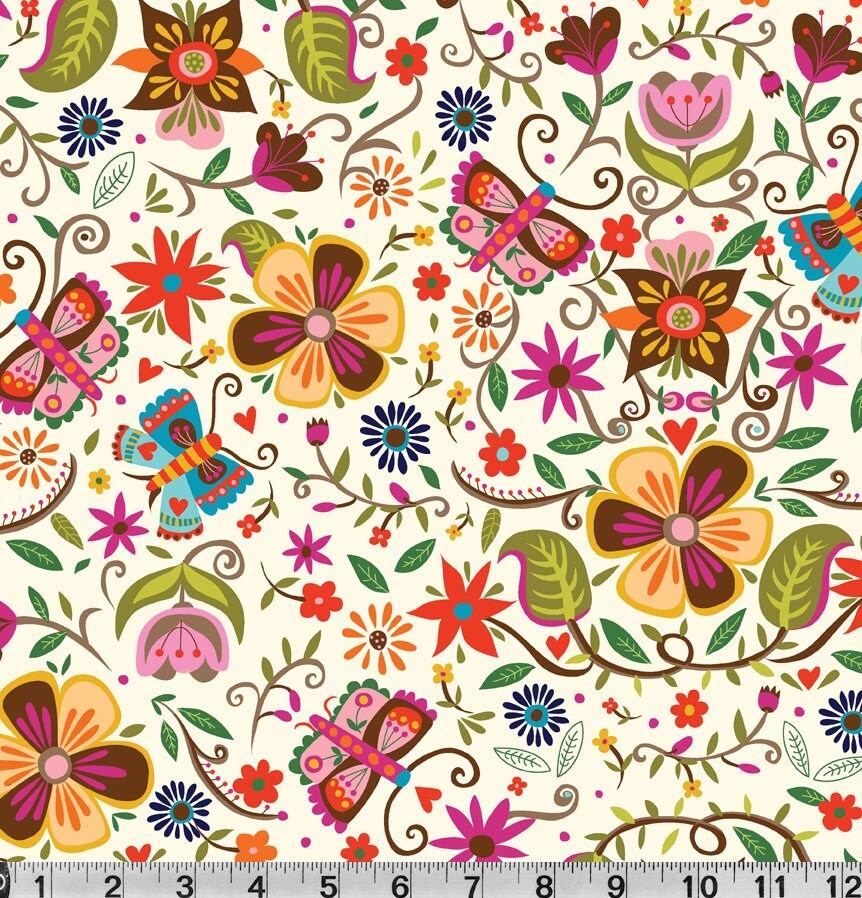
Main Floral Illustration from the Soul Garden collection by Carolyn Gavin
Yummy color scheme!!
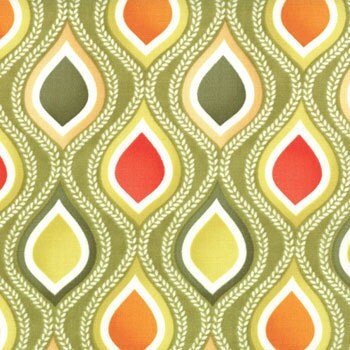
Seedpod from Terrain by Kate Moss - Moda
More lovely colors and patterns!
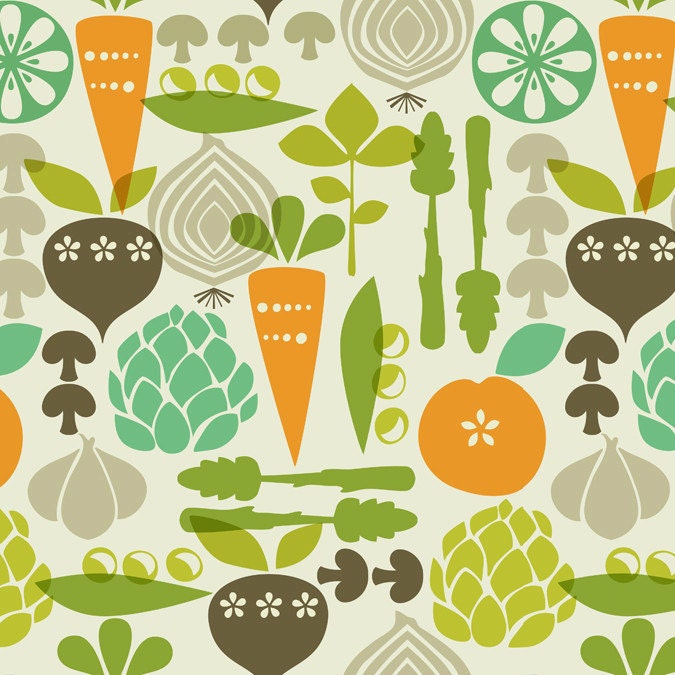
Vegetable Garden from Kitchy Kitchen by Maude Asbury
Love these graphic veggies!

I want to go embroider after looking at fabric goodness, don't you?  What are your favorite inspiration sources?

Saturday, February 18, 2012

Take A Stitch Tuesday

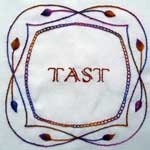
How many of you embroider and have you heard of TAST or Take A Stitch Tuesday.

I just found it and since I am just getting back into embroidery I thought it sounded like lots of fun.  Each Tuesday a new stitch is posted and for that week you try to learn the stitch or experiment with the stitch and see what you can do.  I'm already behind a bit, but I think I might try to get them all in eventually.  So, anyway, this week's stitch was the detached chain stitch or lazy daisy.  The stitch dictionary by Sharon is a fantastic resource, check it out!  I was feeling ready for spring so I made a little garden of wildflowers for myself.
Wildflowers

This is in a 4 inch hoop, so pretty tiny!
What do you think?

Friday, January 27, 2012

Melting Pot of Traditional and Modern Flair

Do you think any traditional craft can be modernized?  Maybe there is room for growth in all crafts.  The craft that I learned first, when I was around 8 years old, was cross-stitching.  I was taught by my mom and my aunt so I think I enjoy it so much because I know it runs in the family.  Our Christmas stockings were all cross-stitched by me and they are my favorite thing to pull out each year!  They are so special.  Here are the kids stockings with our elf on the shelf, I can't believe I don't have pictures of them alone.

 Anyway, very traditional patterns, what you think of when you think of cross-stitching, right?  But what about modernizing it.  I have thought it over for awhile, researched a bit on Pinterest and such and I felt adding modern things like graphic style designs and typography might modernize it a bit.  So here are some designs I came up with and finished today.


What do you think?  Can cross-stitching be modernized with designs like those?  I would love to hear your thoughts!

Saturday, November 12, 2011

I'm Back, Finally!! With A Tutorial Even!

Wow, not having a computer is rough, but I finally have my power cord back, woohoo!!  I could have kissed the delivery man!

You know, the good thing about not having a computer is I got a lot more sewing done.  I get distracted easily by blogs, email, facebook, and Pinterest.  I can go looking for one thing and before you know it an hour has gone by! How does that happen?  It's like a time warp because I can tell you one hour in a car with two kids does not go by that fast!

Anyway, I have been cranking out projects for The Kilgoris Project and I am making a bunch of totes with handles.  Turning all those handles was a big pain, so I came up with an easy way and I will share it with y'all here!  Do you have any idea how excited I was to figure out that turning handles could make the switch from being the bane of my existence to a 30 second quick fix!

So I am pleased to bring you the Easy Inside Out Tutorial.

Supplies:
Your inside out handle
A safety pin, the bigger the better (Seriously, that's all you need!)
DSC_0481

Stick your pin through one side of either end of your handle.
DSC_0482

Now stick your pin inside the tube and scrunch up your fabric all the way onto your pin until you can grab the pin on the other side.  So, your pin went all the way through your tube and is coming out the other end.
DSC_0484

Go to the end of your scrunched up part and start pulling the fabric over onto itself while you keep hold of your pin.  (You do not want to see close up pictures of my hands, so I didn't practice what I preach here)
DSC_0486

Once you get a little bit pulled onto itself the rest slides easily and quickly.
DSC_0487

Now just take out your pin and press!
DSC_0491

Voila, you have a handle!!  And I could have turned my entire pile of handles in the time it took to write this tutorial.

If you have any questions or anything wasn't clear just let me know!