Wow, not having a computer is rough, but I finally have my power cord back, woohoo!! I could have kissed the delivery man!
You know, the good thing about not having a computer is I got a lot more sewing done. I get distracted easily by blogs, email, facebook, and Pinterest. I can go looking for one thing and before you know it an hour has gone by! How does that happen? It's like a time warp because I can tell you one hour in a car with two kids does not go by that fast!
Anyway, I have been cranking out projects for The Kilgoris Project and I am making a bunch of totes with handles. Turning all those handles was a big pain, so I came up with an easy way and I will share it with y'all here! Do you have any idea how excited I was to figure out that turning handles could make the switch from being the bane of my existence to a 30 second quick fix!
So I am pleased to bring you the Easy Inside Out Tutorial.
Supplies:
Your inside out handle
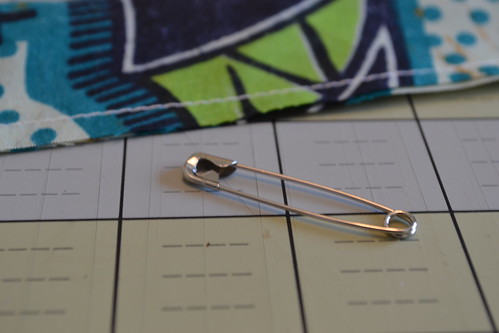
A safety pin, the bigger the better (Seriously, that's all you need!)
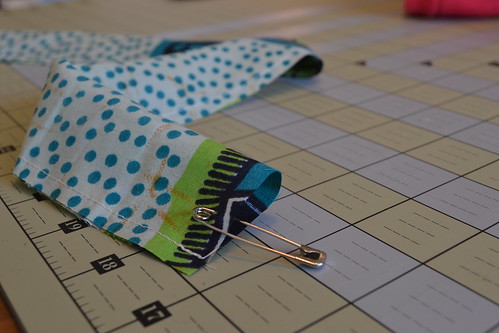
Stick your pin through one side of either end of your handle.
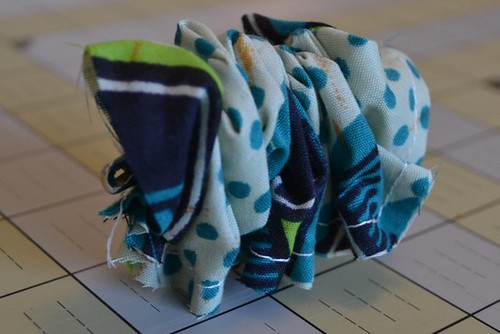
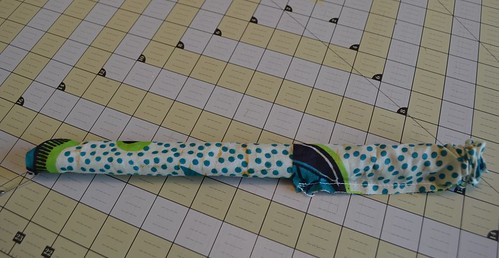
Now stick your pin inside the tube and scrunch up your fabric all the way onto your pin until you can grab the pin on the other side. So, your pin went all the way through your tube and is coming out the other end.
Go to the end of your scrunched up part and start pulling the fabric over onto itself while you keep hold of your pin. (You do not want to see close up pictures of my hands, so I didn't practice what I preach here)
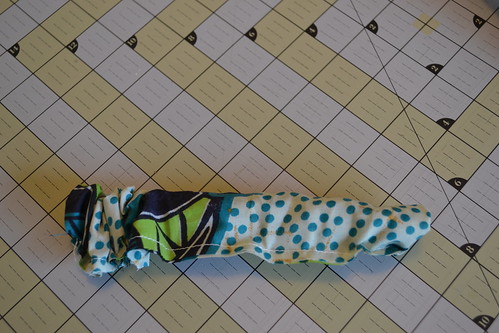
Once you get a little bit pulled onto itself the rest slides easily and quickly.
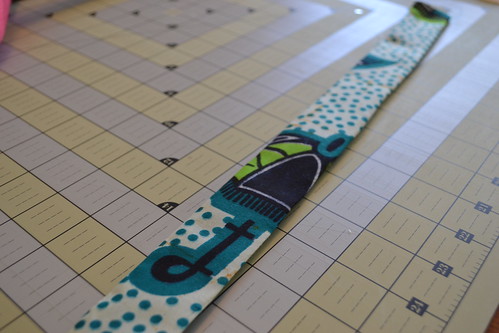
Now just take out your pin and press!
Voila, you have a handle!! And I could have turned my entire pile of handles in the time it took to write this tutorial.
If you have any questions or anything wasn't clear just let me know!
Showing posts with label Tutorial. Show all posts
Showing posts with label Tutorial. Show all posts
Saturday, November 12, 2011
Wednesday, October 19, 2011
Perfect Points Tutorial

One of the things that drove me absolutely crazy when I first started quilting was not being able to line up my seams perfectly. I am a self-taught quilter and so I have no idea if this is something most beginners learn right away or not. But, because it bugged me so much I wanted to help out my fellow beginners with a little tutorial on how to get perfect points every time. This is my first tutorial so if it doesn't make sense just let me know! Let's get started.
Materials:
~Pins
~Fabric Pieces
Here is a little sneak peek into my current project. As you can see there are a ton of seams and they all need to be matched perfectly.
The very important first step is to press your seams in opposite directions. As you can see below, the top fabric is pressed to the left and the bottom fabric is pressed to the right. This allows your seam to nest together. Nesting makes the next step much easier.
Yes, we have to use pins here, they are a necessary evil. Pinning takes time, but it is well worth the result. The best pins to use are the thinnest you can find. I found mine at my LQS and they are amazing. They slide so easily through the fabric! What you are going to do is slide your pin directly through your seams.
It may take a little finagling to get it through both seams, but it should look like this when you catch both.
Then just push the needle back up through both seams to the top. Stitch right over top of the pin (that's also why it helps to have thin pins). I usually stitch up as close to the pin as I can and then manually go over the needle just to make sure I don't break a needle.
Press and flip over your finished product to see your perfectly matched points.
I hope that was helpful. It does take practice to get the pin where you want it, but I promise it's worth the time! If you have any questions, please ask.
Labels:
Tutorial
Subscribe to:
Posts (Atom)


